

 Chris Wilson
8 min read
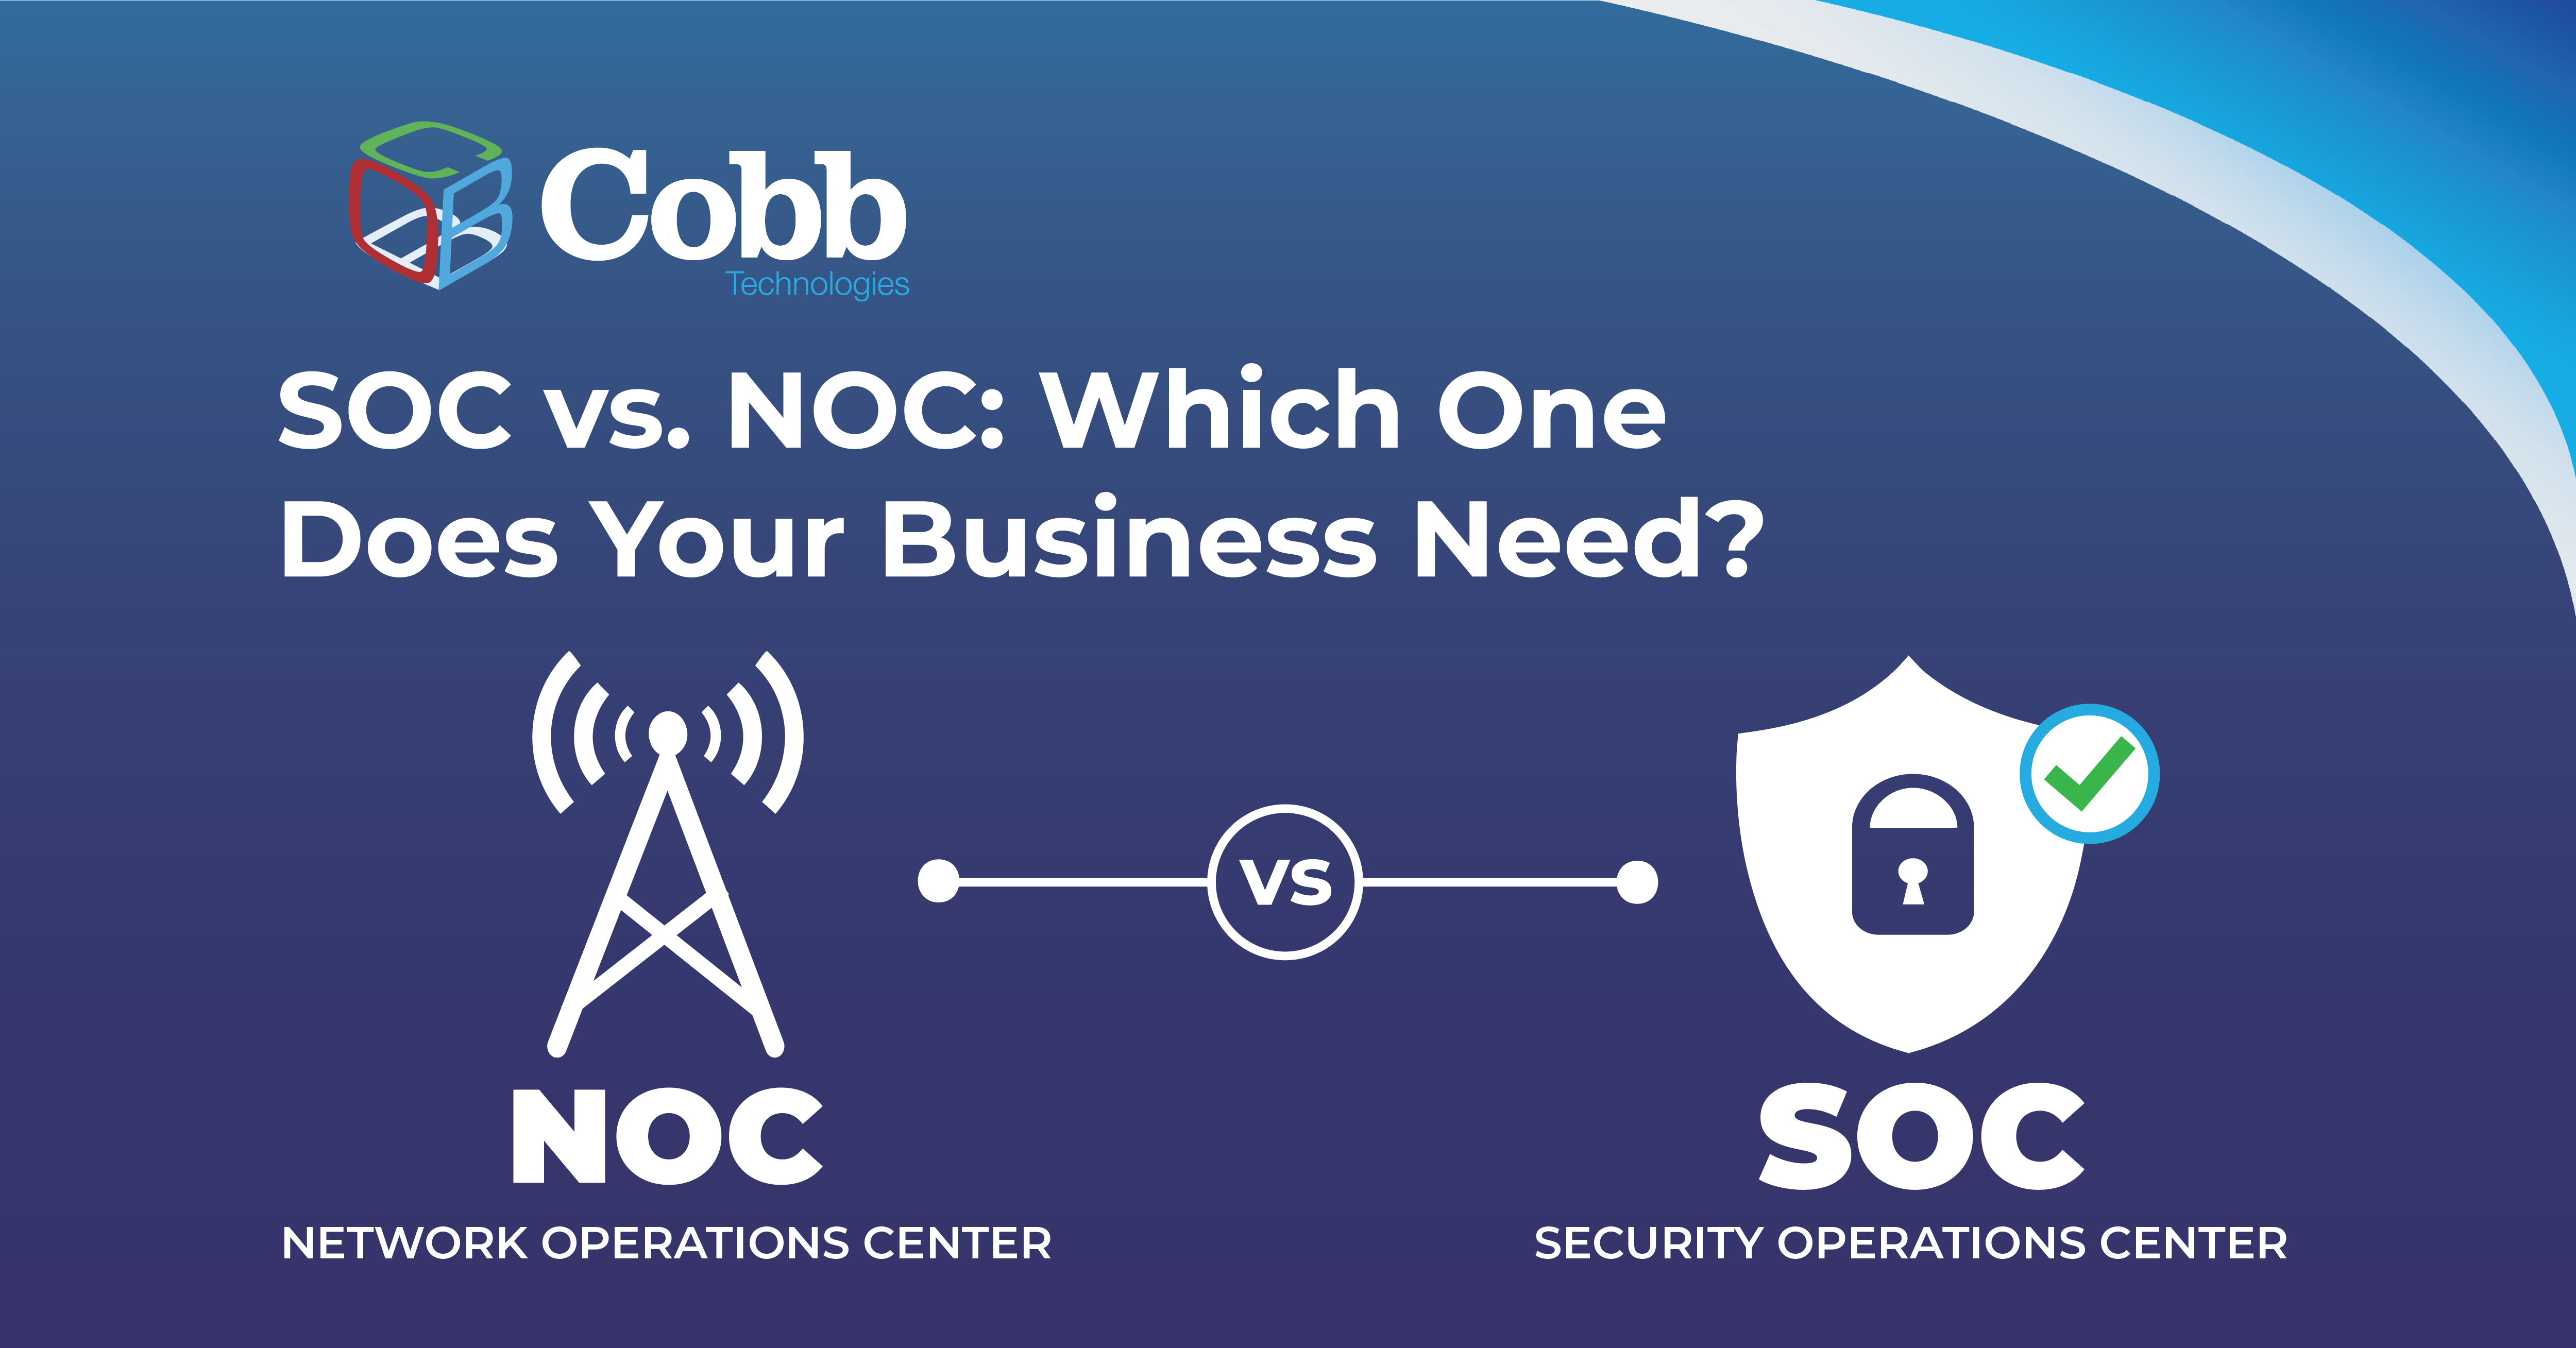
SOC vs. NOC: Which One Does Your Business Need?
As businesses grow more reliant on digital infrastructure, the need to maintain both system performance and security becomes harder to manage...
8 min read
As businesses grow more reliant on digital infrastructure, the need to maintain both system performance and security becomes harder to manage...
11 min read
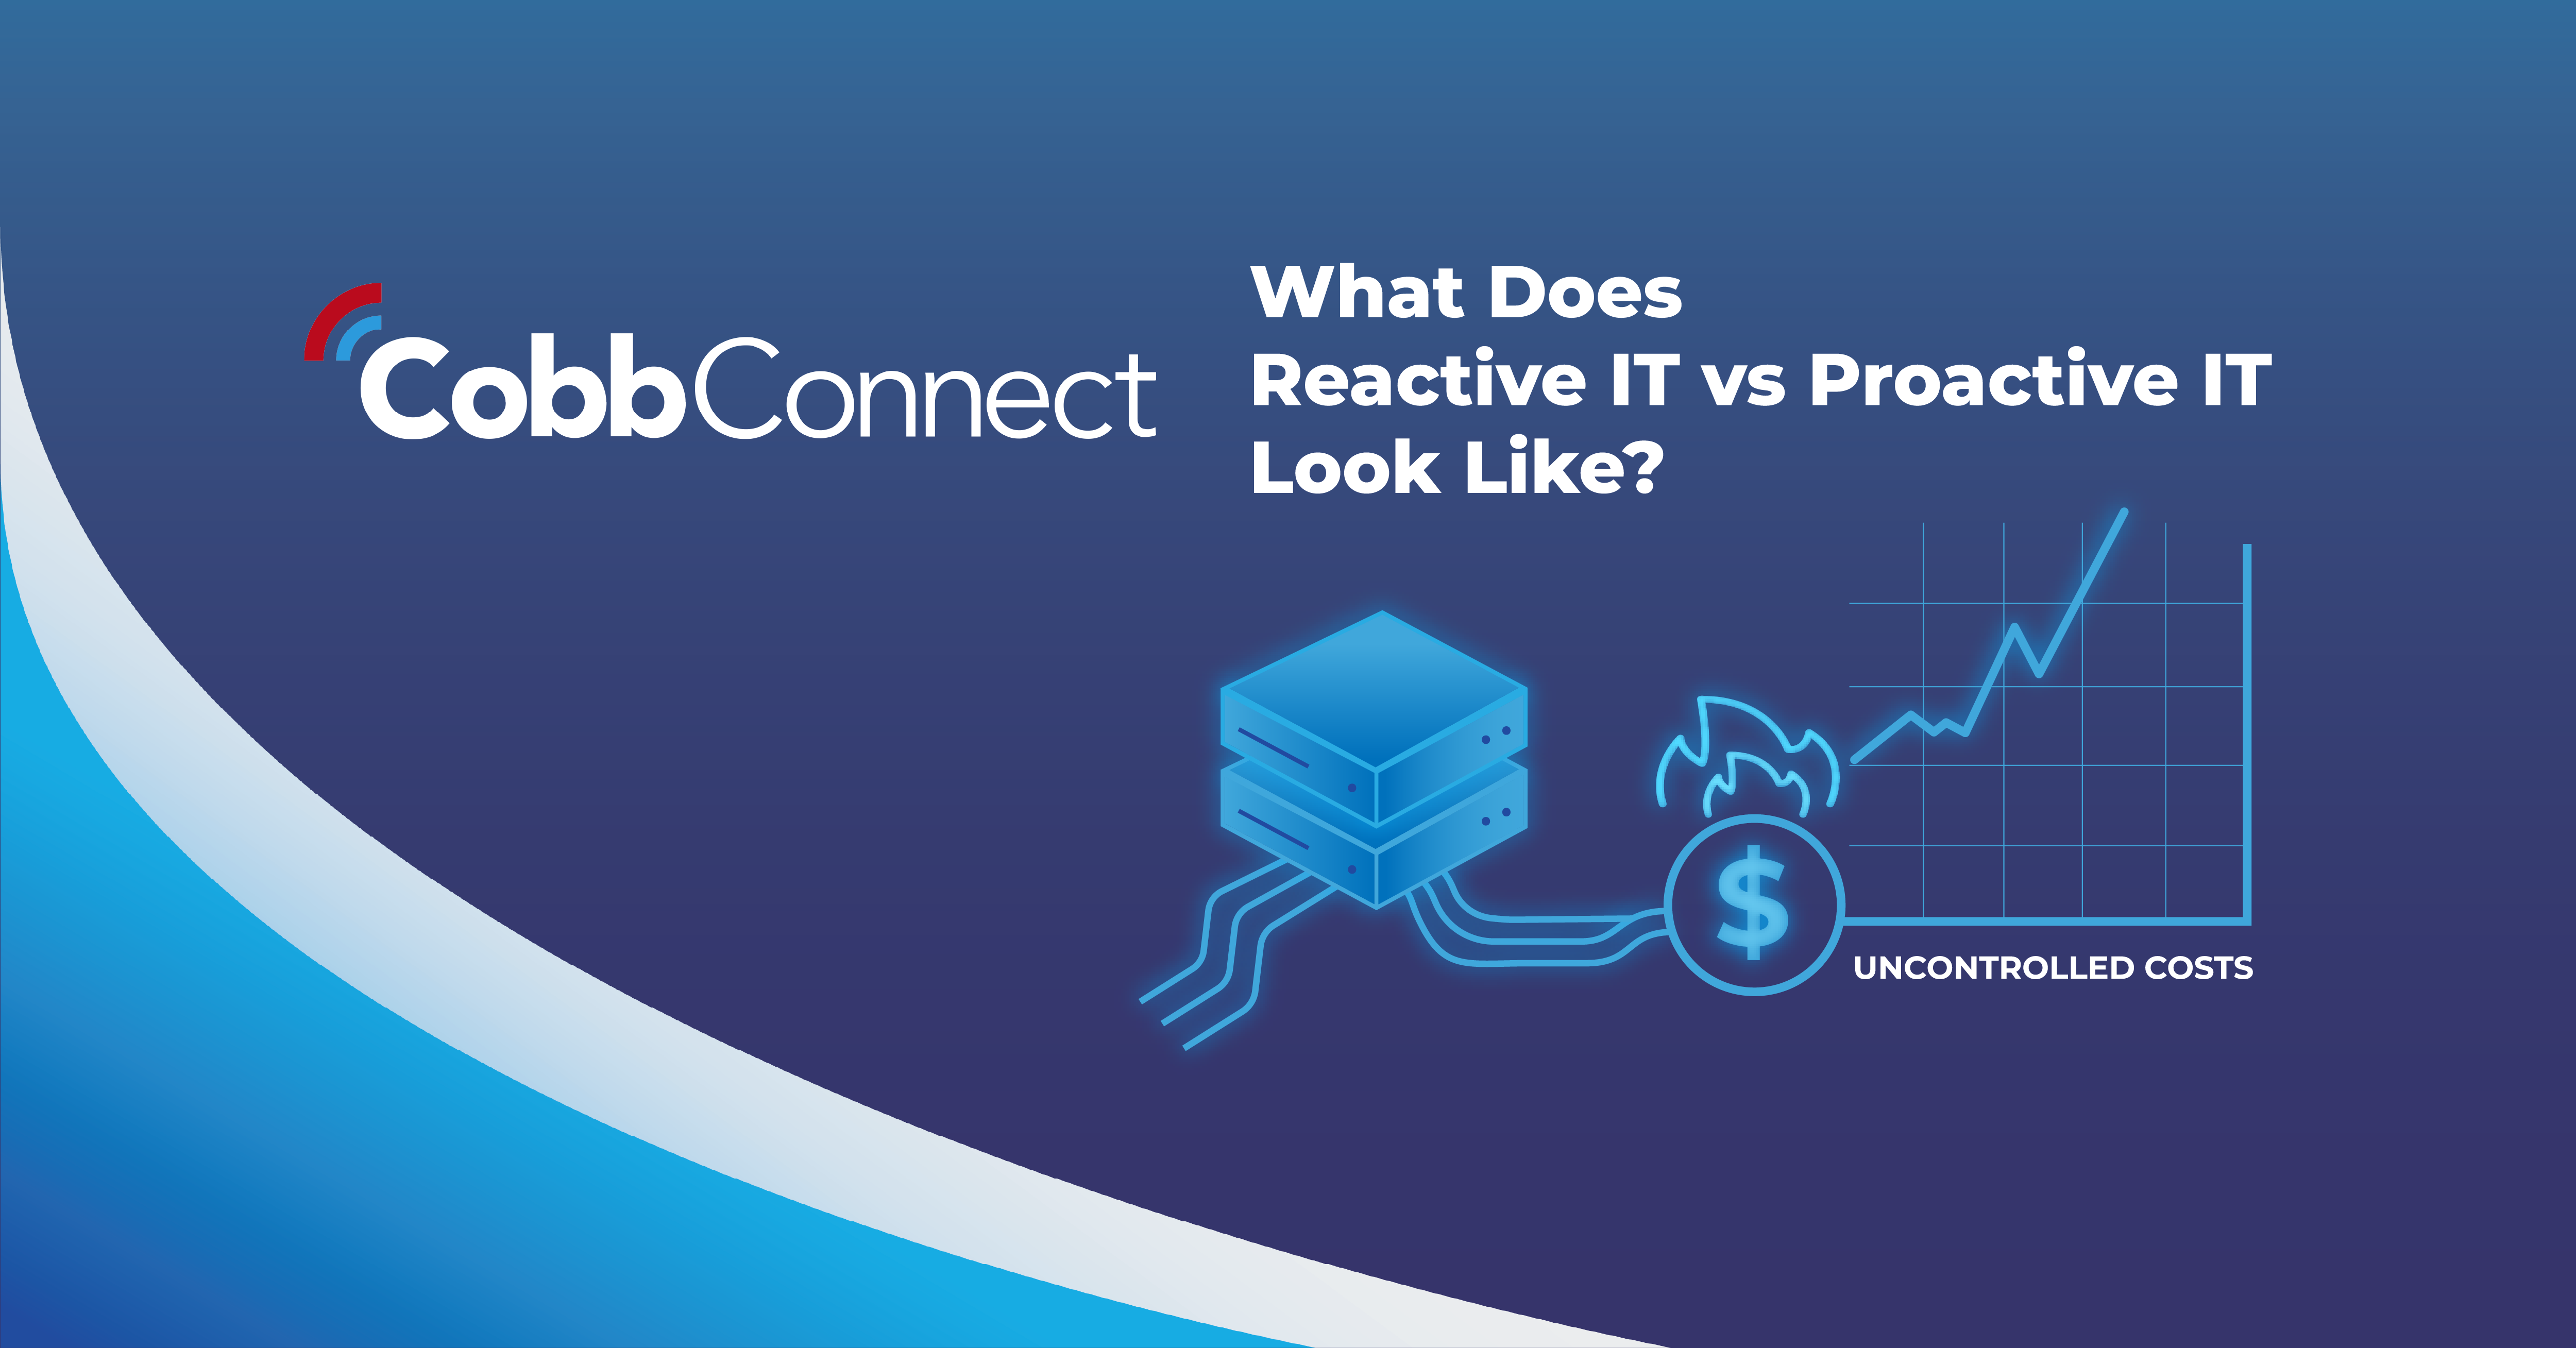
For many small and mid-sized businesses, technology problems don’t show up as major failures right away. Instead, they appear as slow networks,...

6 min read
In honor of Women’s History Month, we’re recognizing the groundbreaking contributions of Hedy Lamarr, a Hollywood star and tech innovator whose work...